The Eureka Z1-S Gaming Desk: Unboxing and Assembly
- First Look
Like most reviews sites, our editorial staff and laboratory testing expenses are partially offset by earning small commissions (at no cost to you) when you purchase something through those links. Learn More

One of the first gaming desks we’ve been able to get our hands on is the Eureka Ergonomic Z1-S. We’ve got it set up in our testing lab, and wanted to share the experience while we put it through its paces on our way to writing our full review.
Unboxing the Z1-S Gaming Desk
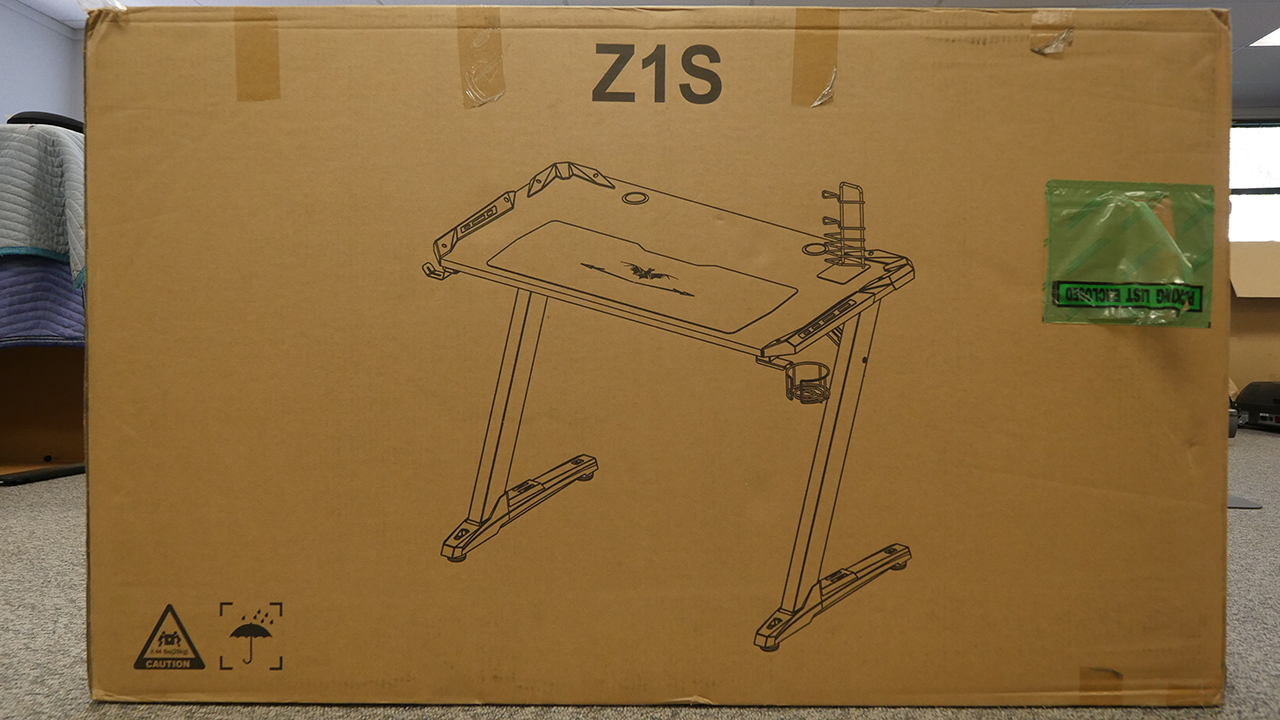
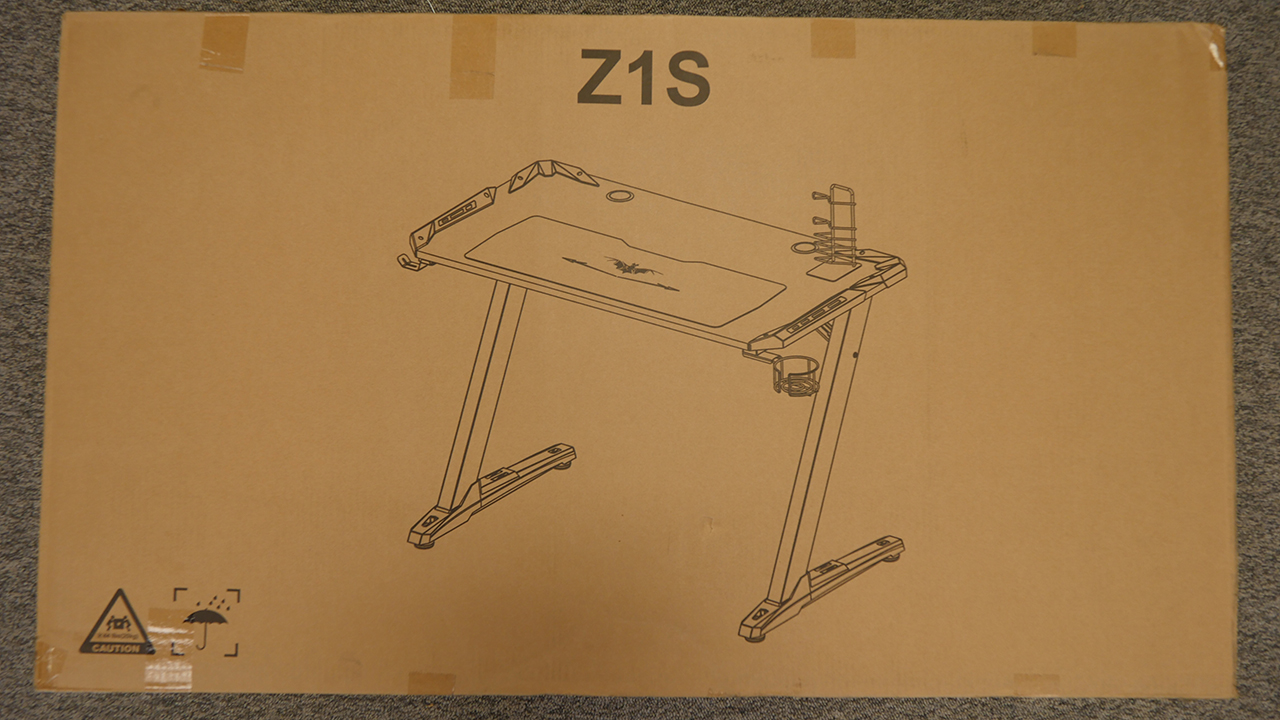
Let’s start by taking a look at the packaging. The box the Z1-S arrived in was clearly marked, with both sides showing the same image of the desk and its model number. We’ve labeled them “Front” and “Back,” but it’s an arbitrary distinction.
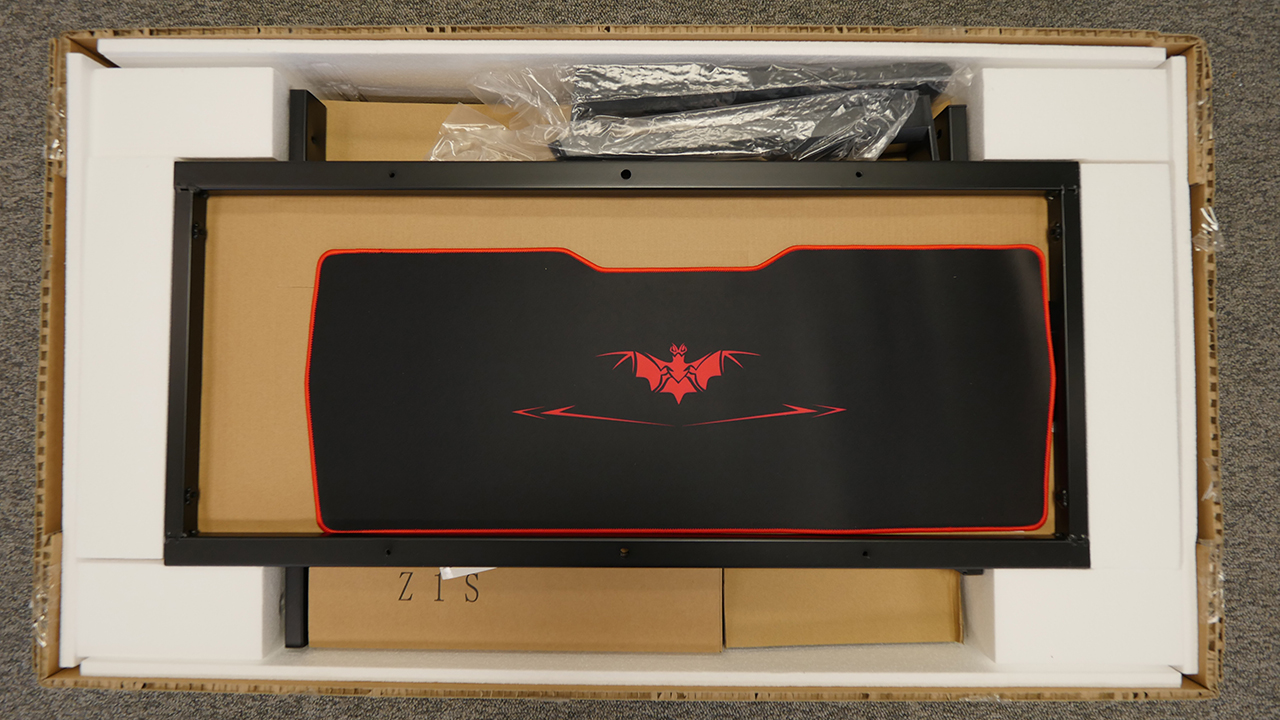
Opening the box reveals a tightly packed bundle. That’s good; nothing will have moved during shipping.
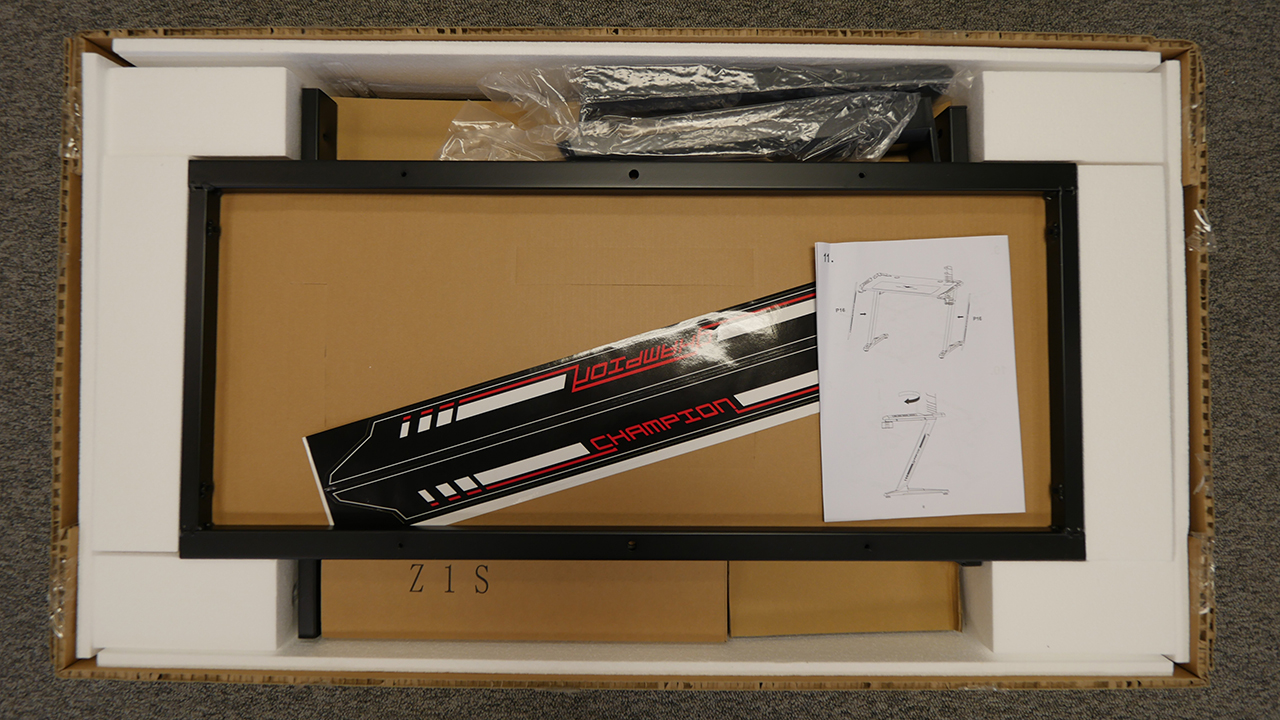
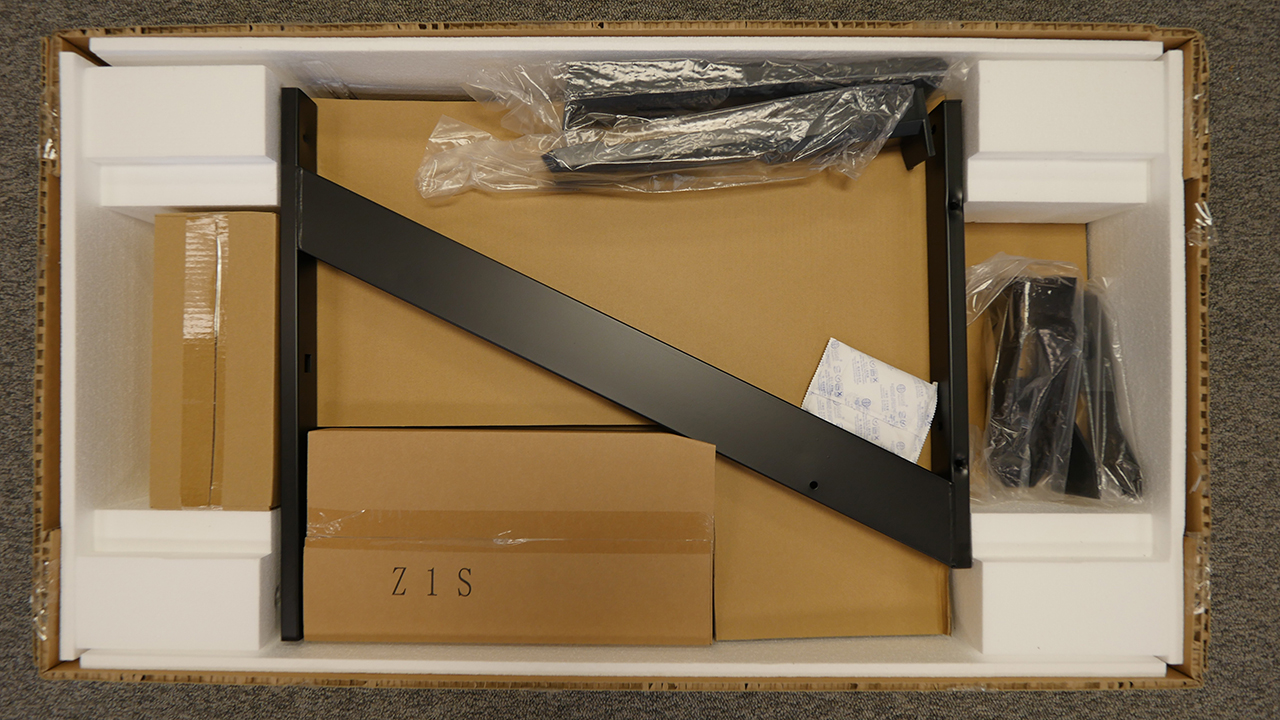
Then, cutting the tape holding down that top sheet of cardboard gives us our first glimpses of the desk. The large mousepad is plainly visible, and the top of the desk base. Under the mousepad, we have the decals and the assembly instructions.
Let’s go deeper. Now we see one of the desk legs, the plastic side armor for the desk’s feet, and a couple of boxes of hardware. (We’ll take a look at those boxes in a moment.) Then, when we move the first leg and a cardboard separator out of the way, here’s the second leg. From this angle, it’s hard to tell in these photos that we even moved the first leg out of the way, but we did. The legs are identical, so you don’t have to worry about keeping left and right straight.

Now, let’s take a look at what’s in those two boxes. One is labeled “Z 1 S”; the other is unmarked. Here’s the “Z 1 S” box opened and unpacked. There’s quite a lot they’ve managed to fit in there. Going clockwise from the box, we have the desk’s foot pads and wire management (bagged), the LED light strips for the sides of the desktop, the bright red desktop braces, the corner embellishments for the desktop, two small bags of bolts, including an Allen wrench, and a Phillips-head screwdriver. The Allen wrench is par for the course in flat-packaged, assembly-required furniture, but we were surprised at the inclusion of the screwdriver. It’s not just the bare-minimum, either—it’s a pretty solid tool, with a nice rubber grip that you could use for other projects if you wanted. Its inclusion means that everything you need to assemble the Z1-S Gaming Desk comes in the box. If you don’t have your own toolbox in the garage or a supply closet, that’s ok.
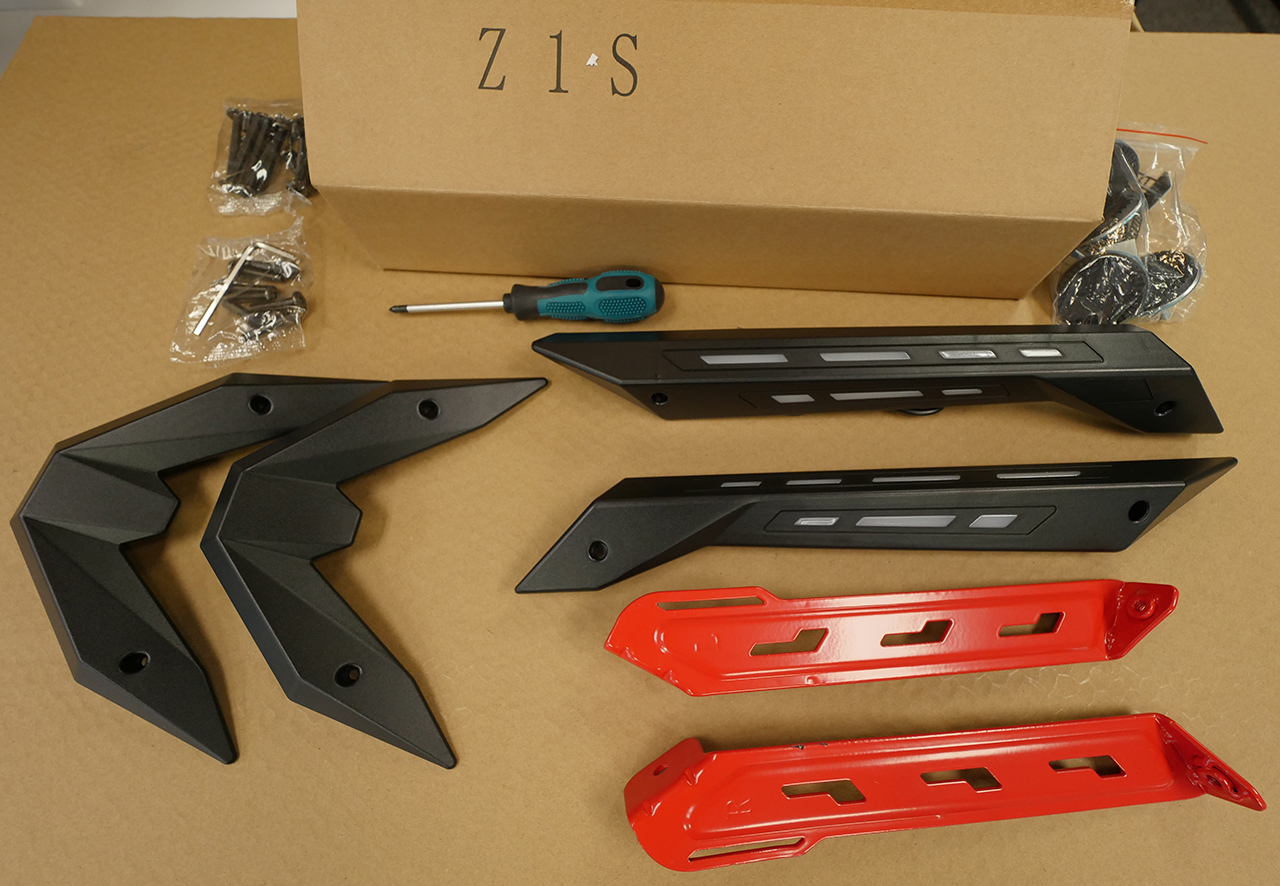
We also wanted to point out that the red braces for the desk legs were labeled “R” and “L,” which we thought would come in handy, since these parts look very similar, but they’re not actually interchangeable.(In this picture, the lighting makes the “R” hard to see, but the “L” is easily visible.)
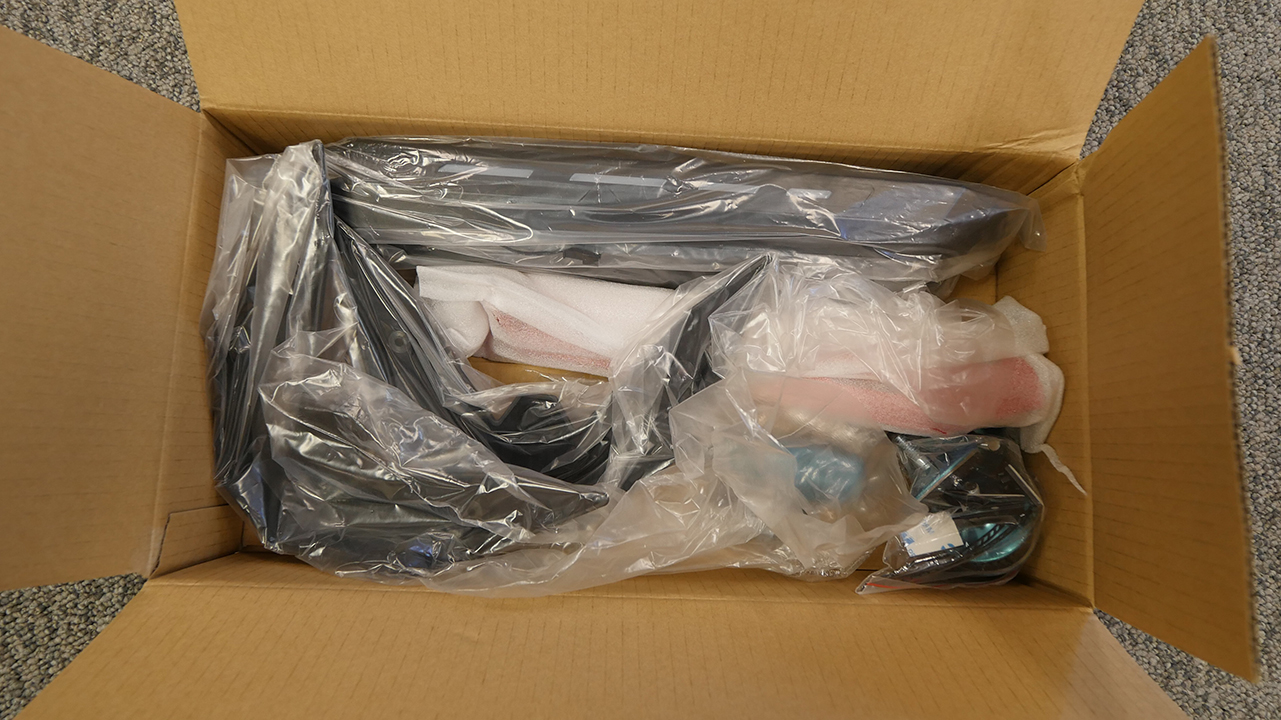
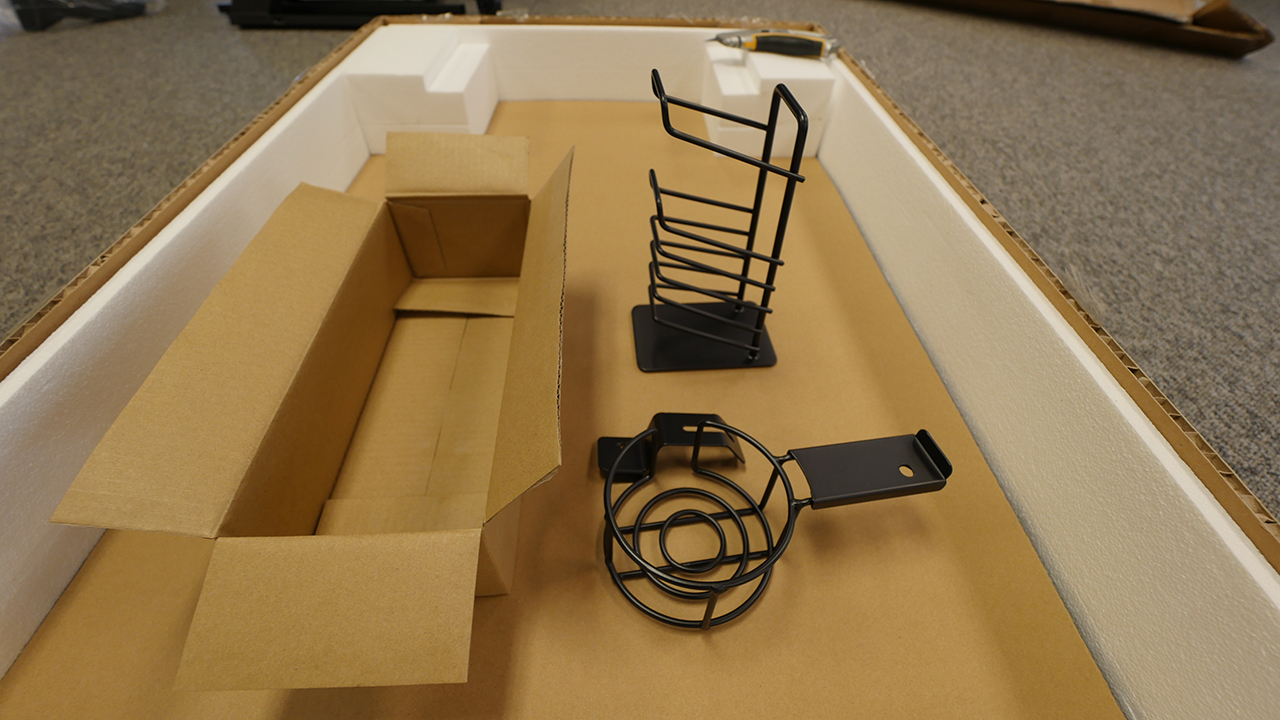
The other, unlabeled box, wasn’t packed quite as tightly, but that’s ok, as there weren’t that many pieces left. In the picture of the unpacked items you can see (from front to back) the cup holder, the headset hanger, and the controller stand.
With the two boxes opened and moved aside, we can pull out the last of the cardboard and styrofoam to reveal the final part: the desktop. The grommet holes for cable management are visible here, and the pre-drilled holes for attaching the LED-lights and other embellishments.
Many standing desks come with grommets for some added convenience. Check out our article on grommet holes, with everything you need to know about the different ways to use them to enhance your workstation, what to look for in your grommet holes, and where to find the desks with the best ones.
Assembling the Z1-S Gaming Desk
So, overall, putting the desk together was fairly simple, and the illustrations in the instructions are easy to follow. However, it’s not necessarily a fast process. We planned on taking a picture after every step of the instructions, but we found that some of the steps didn’t make an appreciable difference in the look of the assembled desk, so we have a few pictures that consolidate some of the steps.
Step One
When you start assembling the Z1-S, the desk will be upside down. The first step is bolting the legs to the top of the desk base. Each leg uses two of the longest bolts (labeled ① in the instructions), and passes through the leg and into the desktop base.
Step Two
Next, the leg braces are added. Now, earlier, we wrote that the braces were labeled “R” and “L” for easy identification. Well, in the instructions, these parts are called P3 and P4, and when your desk is upside down, and you’re coming at it from all angles, it’s not immediately clear which side of the desk will be the right and which will be the left when it’s finally finished and upright. So, during assembly, we relied on the illustrations in the instructions to determine which brace was P3 and which was P4, and ignored the “R” and “L” imprints all together.
Once we determined which side each brace fit on, they went on quickly enough. Each brace required a ① bolt and a ③ bolt (the shortest bolts). We found it was easier to put the ③ in first, without tightening it all the way down, then to rotate the brace into place so that we could pass the ① through the desk leg and into the brace. Then tightening both bolts was easy. On the other hand, when we tried to do the ① first, lining up the ③ was awkward.
Step Three
The desk’s feet (⑤) have a plastic film protecting them. Remove the film before you screw the feet into the desk.
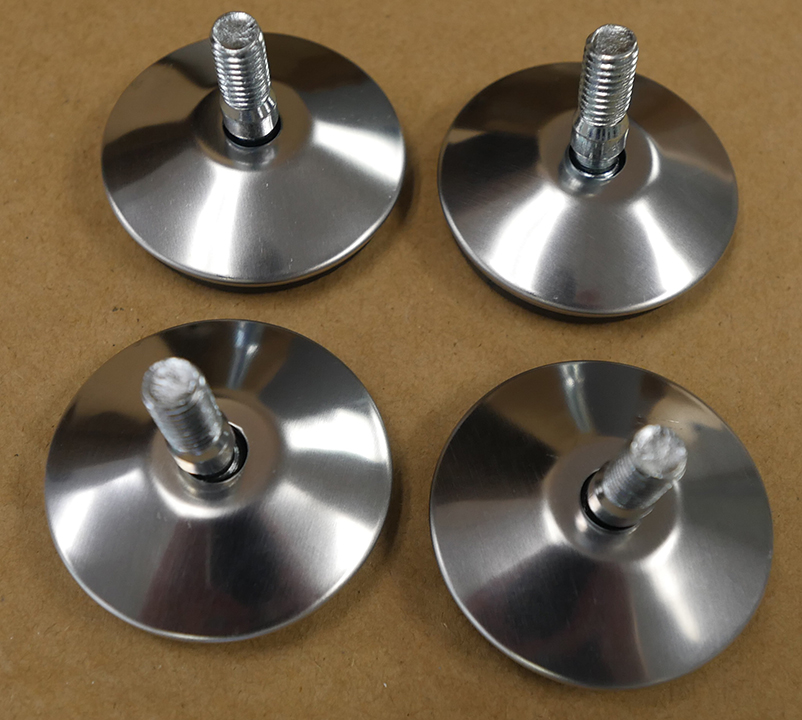
Once you’ve got the feet in, you’re ready for the next step. However, after you’ve completely finished assembling the desk, and have put it where you want it, you will probably need to come back to the feet and adjust them individually to ensure the desk is level.
Steps Four, Five, and Six
The next steps require you to get the desktop out and slide it, face-down, under your assembled desk base. I combined these steps because, visually, it’s not that helpful to see the desk at the no-bolts-in, some-bolts-in, and all-bolts-in. Six ② (the medium length) bolts are used to secure the desktop to the base. This is the end result.
Note that step 6 of the instructions is where you add two of the included accessories to your desk: the cup holder and the headset hanger. You can see the attached headset hanger on the bottom-right corner of the desk (closest to the bottom edge of the photo). But across from it, the cup holder is absent. Here is the naked corner close up:
The cup holder was included; I showed it in the unboxing photos up above. But it attaches to the desk by passing a ② bolt through the cup holder and the desk leg into the desktop surface. (See update below) We couldn’t get the bolt to reach the threads. The headset hanger attaches just the same, and it went on without a problem. We checked the ② bolts against one another; none were shorter than the others, and none could reach all the way through to the threads in the desktop. This was the first major snag in assembling the Z1-S Gaming Desk.
UPDATE: After otherwise finishing the desk, we were able to remove the bolt in that corner, add the cup holder, and get it to attach properly. Screwing the bolt down without the cup holder pulled the threads far enough to get the bolt to catch. If you find that something similar prevents you from attaching the cup holder or the headset hanger to your desk, put the bolt through the desk leg without the accessory, tighten it down all the way, then remove it and try again. It should make it possible. We’re glad we could finally assemble the desk completely.
Step Seven
At this point in the assembly, the desk is turned right-side up. The last of the short ③ bolts are used to attach the plastic side armor to the foot of the desk.
However, the desktop still looks a little bare.
We’re about to fix that.
Step Eight
Up till now, we’ve been using the Allen wrench to assemble the desk, but now we set it aside and take up the Phillips-head screwdriver instead. The desktop “side armor” goes on with eight small Phillips-head bolts, labeled ④. They’re impossible to mix up with the other bolts, having a slimmer profile and being silver colored, rather than the dark bronze of the ①, ②, and ③ bolts.
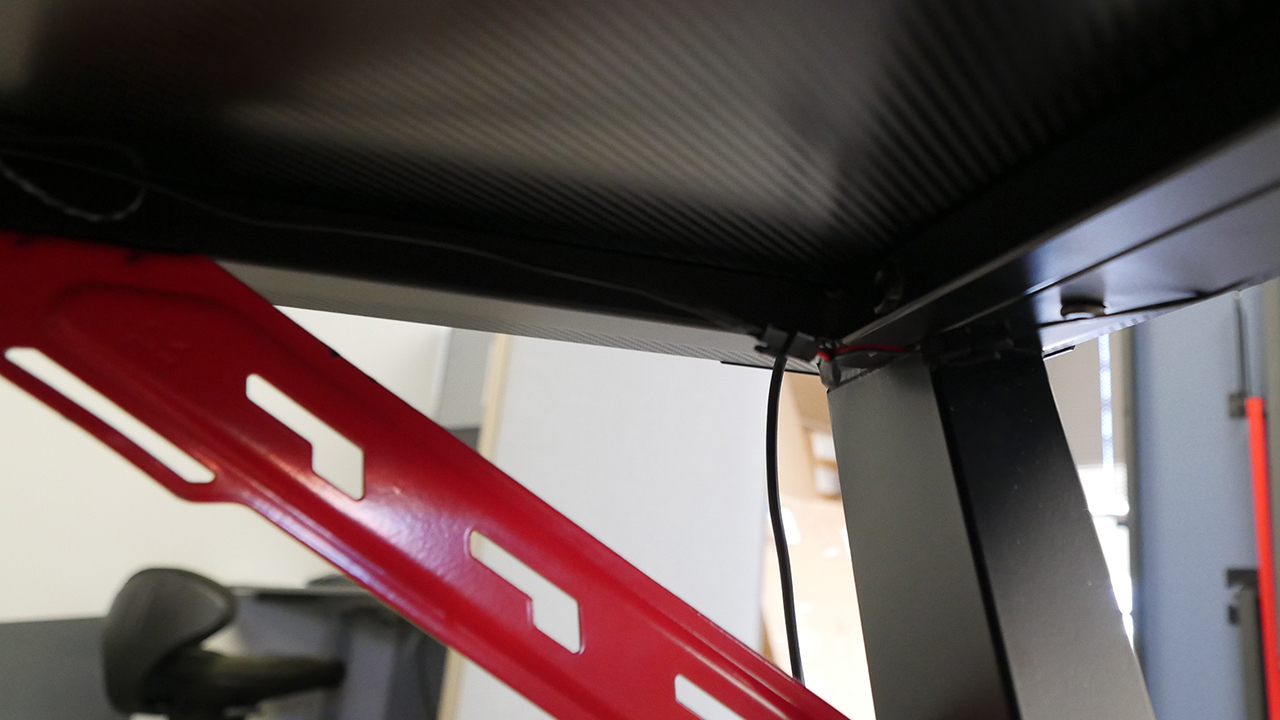
There is a hole on each side of the desk for you to thread the LED lighting wires through. I unplugged the bulk of the wire from the right-side light housing (P11), so I only had to pass a short length of wire through the hole. Two bolts went in each piece, leaving me with this:
Step Nine
Reattaching the wires underneath the desk, like so . . .
. . . leaves you with an unruly length of wire to tame.
There are four zip-ties included with the desk that let you keep those wires against the underside of the desk, with the USB end dangling from one corner of the desk, ready to get plugged into your PC.
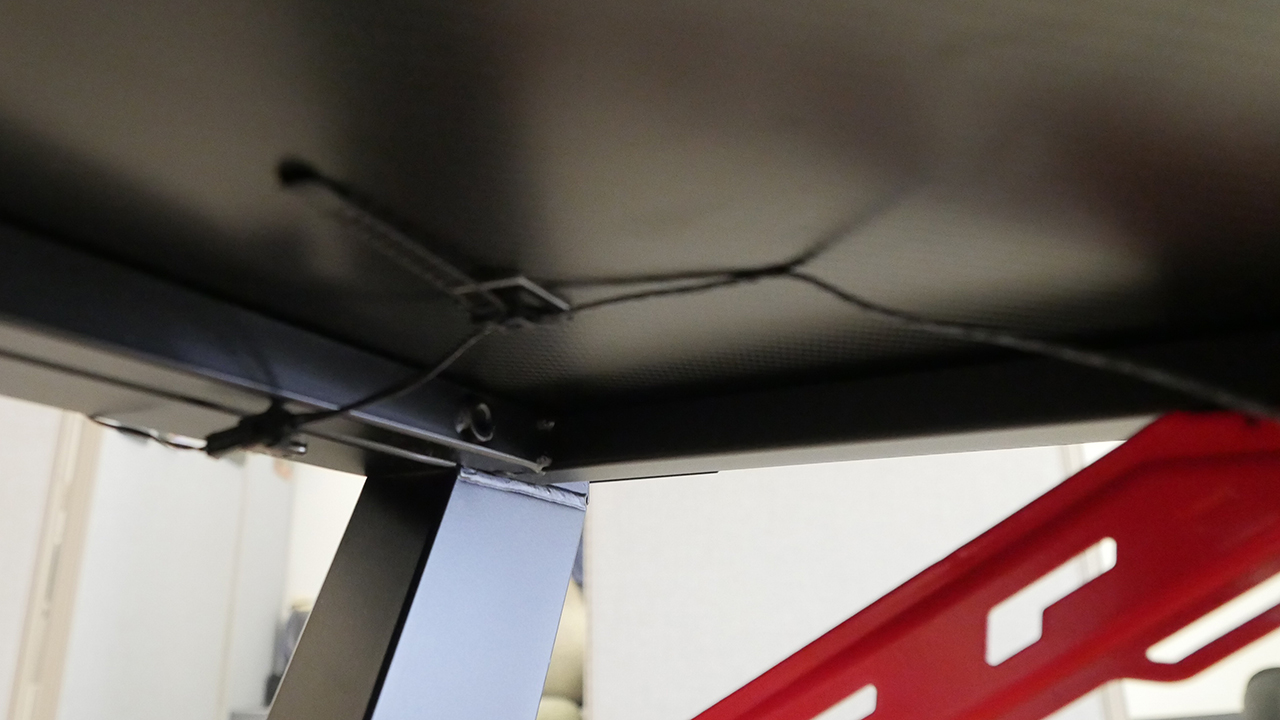
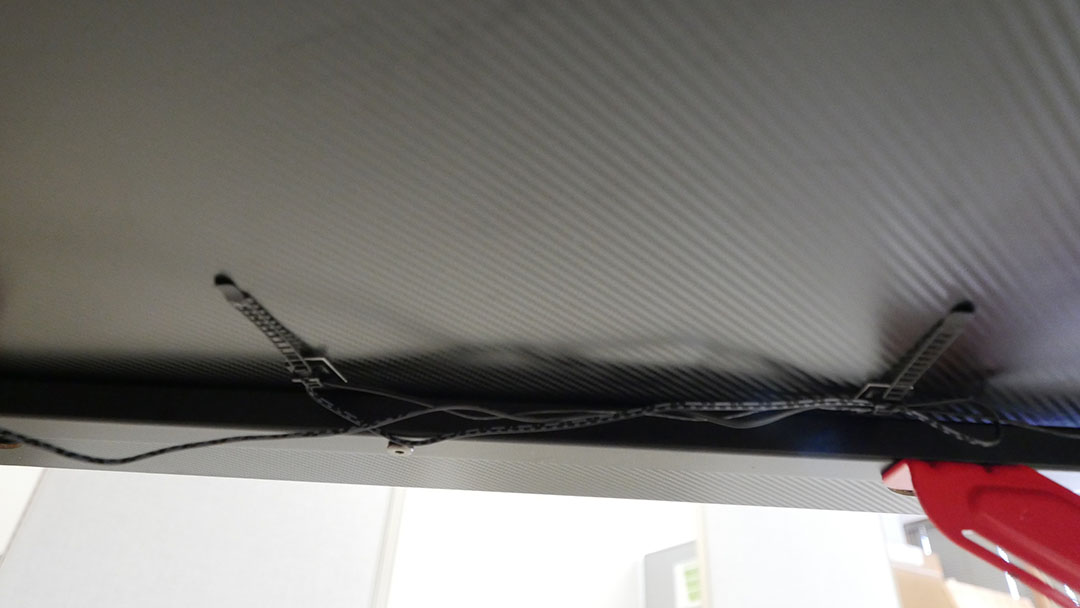
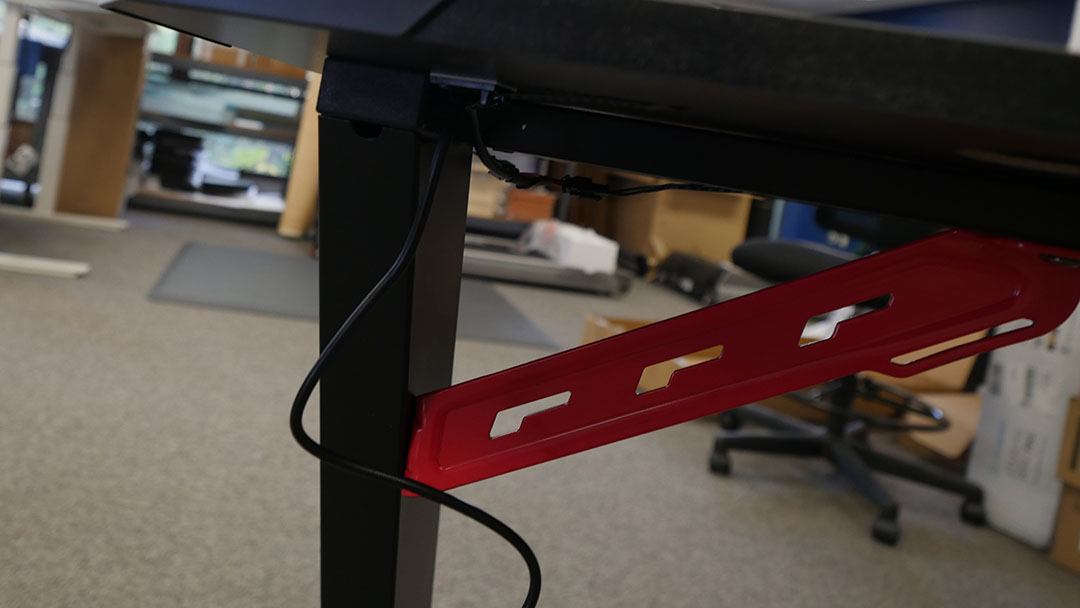
The wiring that runs under the desktop is uneven. That is, as it comes out from the USB cord, one side is short, and gets plugged directly into the LED light assembly’s wire, and the other side is long, to reach across the desk and plug into the other LED light assembly. This means that you’ll have to make a choice about where you are going to set your PC tower when you’re wiring the desk. The wires themselves can be unplugged and moved easily enough, but once you put up the wire management ties, they aren’t really meant to be moved to a new location. Alternatively, if you plug the desk directly into a USB power outlet, then it won’t be tied to your PC placement, but the desk lights also won’t turn off when you power down your PC, either. These are all things to consider when wiring your Z1-S gaming desk.
Step Ten
Step 10 of the instructions reminds you to place the controller rack and gaming mousepad on your desk. Yep, that’s the whole step.
Step Eleven
Lastly, we have the decals. We haven’t actually put them on our desk yet, but note their mirrored shape. The short taper goes towards the bottom of the desk leg and fits around the foot side armor, while the long taper fits around the bolt that holds the red brace to the leg. Be sure you put the correct decal on each side.
And that’s it! The desk is complete, and ready for gaming. It took us about one hour and fifteen minutes from first opening the box to completed assembly. Even accounting for the time we spent photographing our progress, it wasn’t a quick assembly, but it wasn’t longer or more difficult than you would expect from a desk at this price point. Except for the cup holder, all the parts went on without problems, and even that worked out in the end. Eureka Ergonomic Design Studio has a modern robotic factory that ensures that all the parts are flush and tight-fitting. It’s a solid desk, if a bit on the small side. Read our full review of the Eureka Z1-S Gaming Desk!
0 Comments
Leave a response >